Learn how to tie a paracord horse rope halter in this video by Columbia Basin Knot Company. Never buy a horse rope halter again by learning how to tie a paracord horse rope halter.
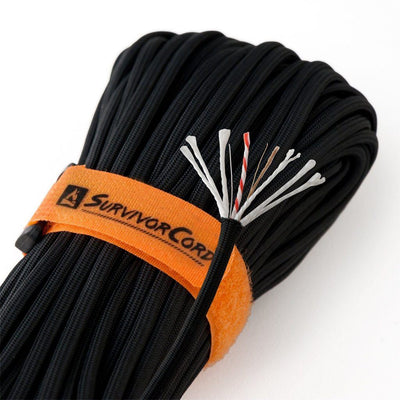
For this project you will need 22’-25’ of eitherSurvivorCord or WarriorCord when trying this for the first time. Once you get the hang of it, you should only need 20’. Take your length of paracord and fold it in half and tie a snug overhand knot at the center point. Now tie another simple over hand knot on the left cord 11” from the original knot. Then take the cord and fold it back in half with the knots next to each other.
The next thing to do is tie the Theodore knot. Working only with the right side of the rope, take it up and over both cords, making a loop on the right side. Taking the same cord you are working with, cross it up and over the point where the first loop crosses itself. This should create a loop on the left side with the working cord facing towards the right.
Put your finger on the point where the cords are crossing to anchor it down. Now take the working cord and create another loop on the right side by going through the first loop and under the two right loops. Pull the working cord all the way through, and straighten your work out.
Anchor your knot and take the left cord and put it over and through the first loop on the left side. Pull the left working cord all the way through the loop and straighten out your work. Do not tighten any of the loops down yet. You just want them to be neat without too much slack.
Still working with the left cord, take the end and working from left to right, put it under the first three cords of the loops on the right side. Then work it over the last cord making up the second loop on the right side. Pull the cord all the way through. Loop it around and put the end over the first loop created on the left side and under the two cords that cross making up that same loop. Split the bottom two lines that make up the left knot, and go over the first one and under the second one and finally under the last cord that makes up the left loop. Pull the cord all the way through.
Take the end of the left side and go through the center and under the two pieces of paracord towards the center point where the paracord was originally folded in half. Take the first right loop created and the left loop and fold them together. Pulling up on the top strands and down on the bottom loops, gently adjust and tighten the halter, keeping the two overhand knots next to each other. You want them to be about 7” from the center of the Theodore knot. Then adjust the bottom loops to about 2 ½” long.
Learn how to make the rest of the halter in the second video of this two part series.