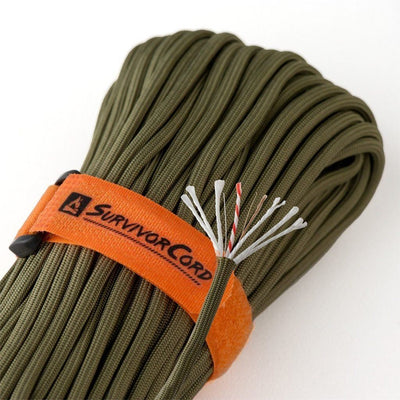
Learn how to create handcuffs using 550 paracord in this video by PREP Charley. Paracord handcuffs are a simple and effective way to restrain an individual.
You never know when you might find yourself in an undesirable situation where it is necessary to restrain someone. Most people don’t carry around a pair of handcuffs, but a lot of people do carry some kind of paracord, in the form of a bracelet or necklace. The solution, create handcuffs using your 550 paracord. All you need to get started is four to five feet of paracord and a round object, like a stick or marker. For explanation purposes we are going to use a marker.
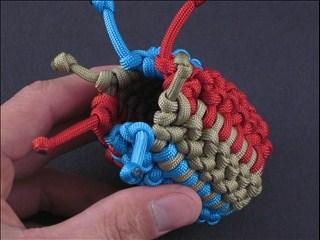
First, start by bending the paracord in half into what is called a bite. Pinch your fingers about 3 inches down from the bend creating a loop. Take the top of the loop and bend it down to where your fingers are pinched and hold it in place. It should look like two bunny ears. Fold the ears towards each other so that the sides enclose the tail ends at the point where you are pinching everything together. Put the marker through the hole you have just created. Take two tail ends and wrap them around the marker coming through the loop at the end and pull tight. This is the Prusik knot.
Remove the marker and take one of the tail ends and stick it through the hole where the marker was on the same side as itself. Do the same with the remaining tail end. While holding everything in place, keeping the loops big enough to put hands through, tighten the knot. You will have two loops and two ends.
To use, put person’s hands behind their back and put their hands through the loops. Pull the ends so the loops tighten down on the person’s wrists. Create figure-eight knots on the ends, by first creating a loop, wrapping the loose end all the way around 180⁰, coming through the loop, and tightening down to the Prusik knot. If the person is wearing a belt you can tie the remaining ends to it, further securing them.
You could advance this into a hog tie version by using an eight to ten foot section of paracord. Start by creating the same knot, and while the person is on their belly secure their hands together, and instead of making the figure-eight knot tie the ends to their ankles. Now you are ready to restrain someone if the situation ever arises.

